
TinkerBench is reader-supported. When you buy through links on our site, we may earn an affiliate commission.
Improving Soldering Skills: Techniques for Clean and Reliable Joints
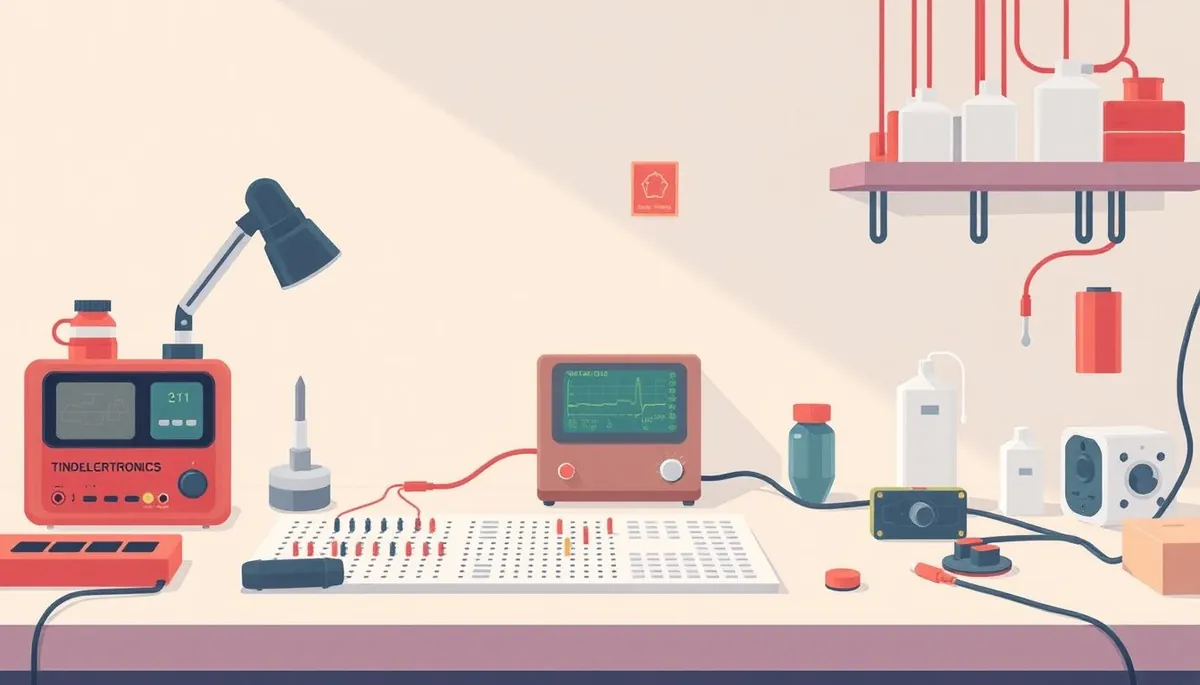
Soldering might seem straightforward, but mastering it takes practice and understanding of the underlying principles. A poor solder joint can lead to intermittent connections, circuit failures, and hours of frustrating troubleshooting. This guide will cover essential soldering techniques, from preparation to cleanup, to help you create strong and reliable joints. We’ll focus on practical steps that will improve your soldering results, regardless of your current skill level.
Preparation: Setting the Stage for Success
Phone cases · 15% off first order
Phone Case GiftThey pick the model · 2 minutes Code FIRST15GIFT
Before you even turn on your soldering iron, proper preparation is crucial. This includes cleaning the components, tinning the iron, and ensuring a stable workspace.
Cleaning Components and Surfaces
Contamination is the enemy of good solder joints. Even seemingly clean components can have a thin layer of oxidation or residue that prevents the solder from bonding properly.
- New components: Often, new components have a protective coating. Use fine-grit sandpaper or a specialized PCB cleaning solution (isopropyl alcohol works in a pinch) to gently remove this coating from the leads.
- Used components: Used components are far more likely to be oxidized. A fiberglass brush is excellent for cleaning leads without damaging them. For heavily tarnished leads, a solder pot with fresh solder can “re-tin” them, providing a clean surface.
- PCBs: Clean the pads on your PCB with isopropyl alcohol and a lint-free cloth. Avoid touching the pads with your bare fingers afterward, as oils from your skin can interfere with soldering.
Tinning Your Soldering Iron Tip
A tinned soldering iron tip is essential for efficient heat transfer. A clean, shiny tip allows the solder to flow smoothly and evenly.
- Procedure: Heat your soldering iron to its operating temperature. Wipe the tip clean on a brass sponge (preferred over a wet sponge, which can cause thermal shock). Immediately apply a small amount of solder to the tip, coating it with a thin, even layer.
- Maintenance: Regularly re-tin the tip during your soldering session, especially if you notice it becoming dull or black. This prevents oxidation and ensures good thermal contact.
- When to replace the tip: If you cannot recover a tip using the above methods and the tip is heavily pitted or corroded, it’s time to replace it.
Setting up a Stable Workspace
A stable workspace prevents accidental movement and allows you to focus on the task at hand.
- Secure components: Use helping hands, clamps, or a vise to hold components in place. This is especially important when soldering small or delicate parts.
- Good lighting: Adequate lighting is essential for seeing fine details. A desk lamp with adjustable brightness and magnification is ideal.
- Ventilation: Solder fumes can be harmful. Work in a well-ventilated area or use a fume extractor to remove fumes from your breathing zone.
Heat Control: The Key to a Solid Joint
Applying the correct amount of heat for the right duration is crucial. Too little heat results in a cold solder joint, while too much can damage components or the PCB.
Understanding Heat Settings
The ideal soldering iron temperature depends on the type of solder you’re using and the size of the components.
- Lead-free solder: Requires higher temperatures than leaded solder, typically between 700°F (370°C) and 750°F (400°C).
- Leaded solder (60/40 or 63/37): Melts at a lower temperature, typically between 600°F (315°C) and 650°F (343°C).
- Small components (SMD resistors, diodes): Use lower temperatures and shorter dwell times to prevent overheating.
- Large components (connectors, power transistors): Require higher temperatures and longer dwell times to ensure the solder melts completely.
If you are still using a cheap fixed-temperature soldering iron, consider upgrading to a temperature-controlled station like the [Pinecil V2 vs Hakko FX-888D: the 25 vs 125 dollar showdown](2. Pine64 Pinecil V2 vs Hakko FX-888D: the 25 vs 125 dollar showdown) for better temperature management and tip options.
Applying Heat Effectively
- Contact: Ensure the soldering iron tip has good contact with both the component lead and the PCB pad. This maximizes heat transfer.
- Dwell time: Apply heat for just long enough to melt the solder and allow it to flow smoothly. Avoid prolonged heating, which can damage components.
- Observation: Watch the solder as it melts. It should flow evenly and create a smooth, shiny fillet between the lead and the pad. If the solder balls up or looks dull and grainy, it indicates insufficient heat.
Dealing with Heat Sinks
Some components, like power transistors, dissipate a lot of heat. When soldering these components, you may need to use a heat sink to prevent them from overheating.
- Method: Attach a heat sink to the component lead between the soldering point and the component body. This will draw heat away from the component and prevent damage. Alligator clips can work as a makeshift heat sink.
Solder Application: Achieving the Perfect Fillet
Phone cases · 15% off first order
Titan CasePrecision fit · 2,000+ designs Code FIRST15TIT
The way you apply solder directly impacts the quality of the joint. The goal is to create a smooth, even fillet that provides a strong mechanical and electrical connection.
Choosing the Right Solder
The choice of solder depends on your application and preferences.
- Leaded solder (60/40 or 63/37): Easier to work with due to its lower melting point and better wetting properties. However, it contains lead, which is toxic.
- Lead-free solder: More environmentally friendly but requires higher temperatures and can be more challenging to work with.
- Rosin-core solder: Contains a flux that cleans the surfaces being soldered and promotes better solder flow. This is the most common type of solder for electronics work.
- Solder diameter: Choose a diameter appropriate for the size of the components you’re soldering. Thinner solder is better for small SMD components, while thicker solder is better for larger components.
Applying Solder Correctly
- Technique: Apply the solder to the junction of the heated component lead and the PCB pad, not directly to the soldering iron tip. This ensures that the solder melts on the heated surfaces and forms a strong bond.
- Amount: Use just enough solder to create a smooth, concave fillet that covers the lead and the pad. Too much solder can create a blob that bridges adjacent pads, while too little solder can result in a weak joint.
- Motion: As the solder melts, move the soldering iron tip slightly to ensure even distribution and good wetting.
Inspecting the Joint
After soldering, inspect the joint carefully to ensure it’s of good quality.
- Appearance: A good solder joint should be shiny, smooth, and concave. It should completely wet the lead and the pad, with a smooth transition between the solder and the metal surfaces.
- Defects: Look for signs of cold solder joints, such as dullness, graininess, or balling up of the solder. Also, check for solder bridges between adjacent pads, which can cause short circuits.
Cleaning and Finishing: Ensuring Long-Term Reliability
Cleaning the PCB after soldering is essential for removing flux residue and preventing corrosion.
Removing Flux Residue
Flux residue can attract moisture and contaminants, leading to corrosion and electrical leakage.
- Cleaning solutions: Use a specialized PCB cleaning solution or isopropyl alcohol to remove flux residue. Apply the solution with a brush or lint-free cloth and scrub gently to remove the residue.
- Rinsing: After cleaning, rinse the PCB with distilled water to remove any remaining cleaning solution.
- Drying: Allow the PCB to dry completely before applying power. You can use a low-heat hair dryer to speed up the drying process.
Trimming Leads
After soldering, trim any excess component leads to prevent short circuits and improve the overall appearance of the PCB.
- Tools: Use flush-cutting pliers to trim the leads as close to the solder joint as possible.
- Caution: Avoid cutting the leads too short, as this can weaken the solder joint. Also, be careful not to damage adjacent components.
Protecting the PCB
For added protection, you can apply a conformal coating to the PCB. This coating protects the components and solder joints from moisture, dust, and other contaminants.
- Types of coating: Acrylic, polyurethane, and epoxy coatings are commonly used.
- Application: Apply the coating according to the manufacturer’s instructions. Typically, this involves spraying or brushing the coating onto the PCB and allowing it to dry.
By following these techniques, you can significantly improve your soldering skills and create clean, reliable joints that will ensure the long-term performance of your electronic projects. Remember to practice regularly, experiment with different techniques, and don’t be afraid to ask for help if you’re struggling. Happy soldering! You might also want to check out our guide to properly maintaining your soldering tips, 5-soldering-station-tip-maintenance-that-actually-extends-tip-life.


