TinkerBench is reader-supported. When you buy through links on our site, we may earn an affiliate commission.
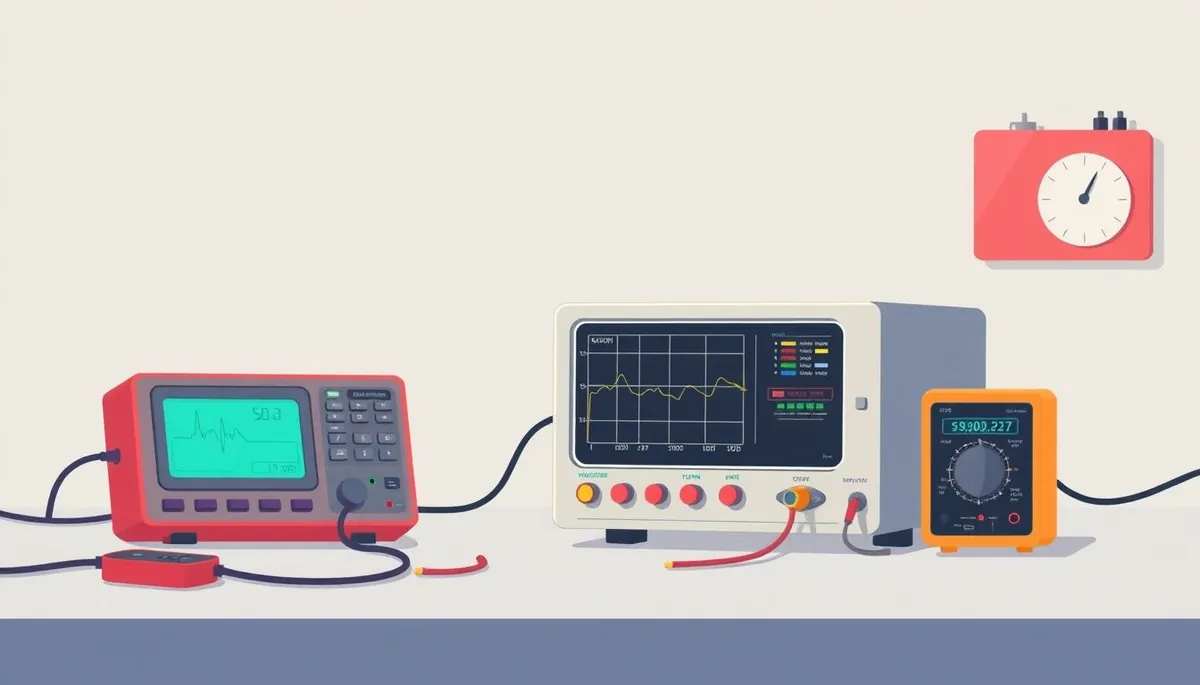
Signal generators are the unsung heroes of the electronics lab. While multimeters and oscilloscopes get all the glory, a signal generator allows you to actively test circuits, not just observe them. Think of it as the stimulus to your circuit’s response, and the oscilloscope as the tool that observes that response. This signal generator tutorial will guide you through the basics of using one to troubleshoot and understand your circuits.
Why Use a Signal Generator?
Phone cases · Sponsored
Phone Cases For All — 50,000+ designs. 15% off code FIRST15ALL
Signal generators are indispensable for a variety of tasks:
- Frequency Response Testing: Determine how a circuit behaves at different frequencies. This is crucial for filters, amplifiers, and audio circuits.
- Troubleshooting: Inject known signals into a circuit to isolate faulty components. If a signal is distorted or missing at a certain point, you’ve narrowed down the problem.
- Calibration: Verify the accuracy of measuring instruments like oscilloscopes and frequency counters.
- Simulation: Mimic real-world signals to test the robustness of your designs. For example, simulating sensor inputs or communication signals.
While simulation software is helpful, nothing beats the real-world performance check you get from injecting a signal.
Signal Types and Parameters
Understanding the different types of signals a generator can produce is fundamental. Here’s a breakdown of the common signal types and their key parameters:
Sine Wave
The purest of signals. Characterized by:
- Frequency: The rate at which the wave repeats (measured in Hertz, Hz). Crucial for frequency response analysis.
- Amplitude: The peak voltage of the wave. Determines the signal strength.
- Offset: The DC voltage level around which the sine wave oscillates. Shifts the entire signal up or down.
- Phase: The initial angle of the sine wave at time zero. Important for comparing two or more signals.
Sine waves are ideal for testing amplifier gain, filter characteristics, and general circuit linearity.
Square Wave
A signal that alternates abruptly between two voltage levels. Key parameters:
- Frequency: Same as sine wave.
- Amplitude: The voltage difference between the high and low states.
- Duty Cycle: The percentage of time the signal is high. A 50% duty cycle means the signal is high for half the period and low for the other half.
- Rise/Fall Time: The time it takes for the signal to transition between the high and low states. Critical for high-speed digital circuits.
Square waves are useful for testing switching circuits, digital logic, and transient response. Their sharp transitions contain many harmonics, making them excellent for stress-testing a circuit’s bandwidth.
Triangle Wave
A signal that ramps linearly up and down between two voltage levels.
- Frequency: Same as sine wave and square wave.
- Amplitude: The voltage difference between the peak and valley.
- Symmetry: The ratio of the rise time to the fall time.
Triangle waves are helpful for testing integrators, sweep circuits, and linearity.
Other Waveforms
Many signal generators can also produce:
- Ramp (Sawtooth) Waves: Similar to triangle waves, but with a sharp drop at the end of each cycle.
- Pulse Waves: Short bursts of voltage, useful for triggering circuits.
- Noise: Random signals, useful for testing a circuit’s immunity to interference.
- Arbitrary Waveforms: User-defined waveforms, allowing you to simulate any signal imaginable.
Setting Up Your Signal Generator
Phone cases · Sponsored
Phone Cases For All — 50,000+ designs. 15% off code FIRST15ALL
Before connecting your signal generator to a circuit, take these steps:
- Connect the output: Use a BNC cable to connect the signal generator’s output to your circuit. For best results, use a 50-ohm coaxial cable and terminate the signal generator’s output with a 50-ohm resistor if your circuit is high impedance. This minimizes reflections and ensures accurate signal delivery.
- Set the frequency: Start with a low frequency (e.g., 1 kHz) to avoid unexpected behavior.
- Set the amplitude: Begin with a low amplitude (e.g., 1V peak-to-peak) and increase it gradually as needed. Be mindful of the voltage limits of your circuit components.
- Choose the waveform: Select the appropriate waveform for your test (sine, square, triangle, etc.).
- Enable the output: Most signal generators have an output enable/disable switch. Make sure the output is disabled while you’re making connections to prevent damage.
- Grounding: Ensure both the signal generator and the circuit under test share a common ground. This is crucial for accurate measurements and to prevent ground loops.
Testing and Troubleshooting Techniques
Here are some specific techniques for using a signal generator to test and troubleshoot circuits:
Frequency Response of an Amplifier
- Connect the signal generator to the input of the amplifier.
- Connect an oscilloscope to the output of the amplifier.
- Set the signal generator to output a sine wave.
- Start with a low frequency (e.g., 10 Hz) and gradually increase it.
- Observe the amplitude of the output signal on the oscilloscope.
- Note the frequency at which the output amplitude drops by 3 dB (approximately 30% reduction). This is the -3dB point, which is a cutoff frequency.
- Repeat the measurement at different frequencies to create a frequency response plot.
This plot will show you the amplifier’s gain at different frequencies and its bandwidth.
Filter Characterization
Similar to amplifier testing, but with a filter in place of the amplifier. You’ll be able to see the filter’s cutoff frequency and the slope of its attenuation. This is also a good test of your oscilloscope, as discussed in our article Scope probes: why the 10 dollar ones lie about bandwidth.
Troubleshooting a Digital Circuit
- Identify a suspect component or section of the circuit.
- Inject a square wave signal into the input of the circuit.
- Use an oscilloscope to observe the signal at various points along the circuit.
- Compare the observed signal to the expected signal.
- If the signal is distorted or missing, the component or section of the circuit between the last known good signal and the first bad signal is likely faulty.
For example, if you’re troubleshooting a counter circuit, you can inject a clock signal from the signal generator and observe the outputs of the flip-flops to see if they’re toggling correctly.
Testing a Crystal Oscillator Circuit
Crystal oscillators are notorious for failing without any visible signs. A signal generator can help you diagnose a non-oscillating crystal circuit.
- Disconnect the crystal: Carefully remove one leg of the crystal from the circuit.
- Inject a sine wave: Connect the signal generator’s output (using a small capacitor, e.g., 10pF, in series) to the input of the oscillator circuit.
- Sweep the frequency: Slowly sweep the signal generator’s frequency around the crystal’s nominal frequency.
- Observe the output: Monitor the output of the oscillator circuit with an oscilloscope. If the oscillator circuit is functional, you should see a clear sine wave appear at the output when the signal generator’s frequency is close to the crystal’s resonant frequency. The amplitude will be significantly higher than the injected signal.
If you don’t see any oscillation, even when sweeping the frequency, the oscillator circuit itself is likely faulty (e.g., a bad transistor or IC).
Advanced Techniques: Frequency Sweeps and Modulation
Phone cases · Sponsored
Phone Cases For All — 50,000+ designs. 15% off code FIRST15ALL
Many advanced signal generators offer features like frequency sweeps and modulation capabilities.
- Frequency Sweeps: Automatically vary the output frequency over a specified range. This is invaluable for characterizing frequency-dependent circuits like filters and antennas.
- Modulation: Impose information onto the carrier signal. AM (Amplitude Modulation) and FM (Frequency Modulation) are common types. Useful for testing receiver circuits and communication systems.
These features can significantly speed up your testing and provide more comprehensive results.
Choosing a Signal Generator
Signal generators range from basic function generators to sophisticated arbitrary waveform generators. Factors to consider when choosing one:
- Frequency Range: Ensure it covers the frequencies you’ll be working with.
- Waveform Types: Does it generate the signals you need (sine, square, triangle, arbitrary)?
- Amplitude Range: Can it output the voltage levels required by your circuits?
- Accuracy and Stability: How accurate is the frequency and amplitude output?
- Features: Does it have frequency sweeps, modulation, or other advanced features?
For hobbyists and beginners, a basic function generator is often sufficient. As your needs grow, you can upgrade to a more advanced model. For a good starter project, consider picking up an Arduino Uno Rev3Check on Amazon → and using its PWM outputs to generate simple square waves for testing.
A signal generator is a powerful tool for any electronics enthusiast. By understanding its capabilities and mastering the techniques described in this tutorial, you can significantly enhance your ability to test, troubleshoot, and understand electronic circuits.


