TinkerBench is reader-supported. When you buy through links on our site, we may earn an affiliate commission.
SMD Rework for Beginners: Tools and Techniques
Phone cases · Sponsored
Phone Cases For All — 50,000+ designs. 15% off code FIRST15ALL
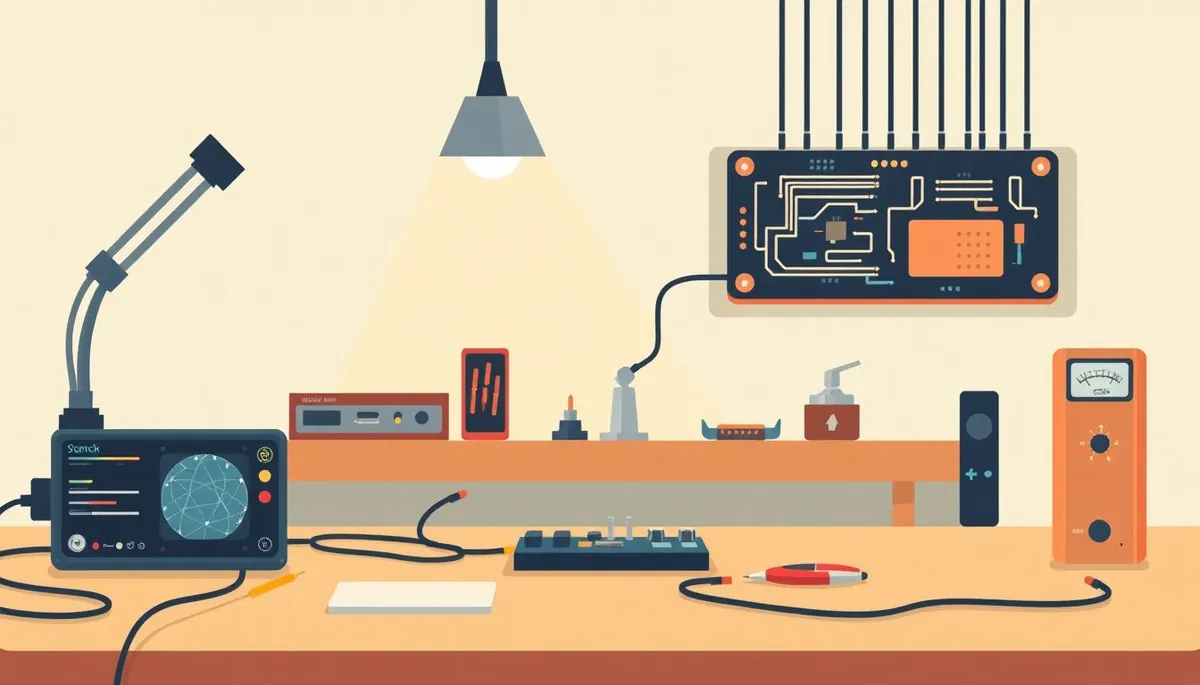
Surface-mount devices (SMDs) have revolutionized electronics, shrinking components and enabling denser circuit boards. But what happens when one of these tiny components fails, needs to be replaced, or you simply want to modify a board? That’s where SMD rework comes in. It might seem daunting at first, but with the right tools and techniques, even a beginner can successfully rework SMDs. This guide will walk you through the essentials, from selecting the right equipment to mastering basic rework techniques.
What is SMD Rework?
SMD rework refers to the process of removing, replacing, or repairing surface-mount components on a printed circuit board (PCB). Unlike through-hole components with leads passing through the board, SMDs are soldered directly to the surface. This makes rework more challenging but not impossible. Reworking SMDs is essential for prototyping, repairing damaged boards, and modifying existing circuits.
Essential Tools for SMD Rework
Having the right tools is crucial for successful SMD rework. Here’s a breakdown of the essential equipment you’ll need to get started:
Hot Air Rework Station
A hot air rework station is the cornerstone of SMD rework. It provides a controlled stream of hot air to reflow solder, allowing you to remove and replace components without physically touching them.
- For Beginners: Look for a station with adjustable temperature and airflow settings. A digital display is helpful for precise control. Models in the $50-$100 range offer a good balance of features and affordability for hobbyists.
- Things to Consider: Nozzle size and shape are important. A variety of nozzles will allow you to work with different component sizes. Some stations also include pre-heating plates, which can be helpful for larger boards. You may want to consider the [Pinecil V2 vs Hakko FX-888D: the 25 vs 125 dollar showdown](2. Pine64 Pinecil V2 vs Hakko FX-888D: the 25 vs 125 dollar showdown) as a potential hot air station option.
Soldering Iron
While a hot air station is great for removing and reflowing SMDs, a fine-tipped soldering iron is still essential for touch-up work, soldering small components, and cleaning up solder bridges.
- For Beginners: A temperature-controlled soldering iron with a fine tip (0.2mm - 0.5mm) is ideal. This allows for precise soldering without overheating surrounding components.
- Things to Consider: Consider the [The Best Soldering Iron for Beginners: $30 vs $60 vs $200 Tiers](3. Why your cheap soldering iron ruins every joint and how to fix it) if you are new to soldering. A good soldering iron stand and tip cleaner are also essential accessories. The /products/b00fzpgdla-hakko-599b-02-solder-tip-cleaning-wire-and-holder-1-pack/Check on Amazon → is a great choice for cleaning tips.
Tweezers
Fine-tipped tweezers are indispensable for handling small SMDs. Look for anti-magnetic tweezers to avoid accidentally magnetizing components.
- For Beginners: Straight and curved tweezers are both useful. Curved tweezers can be helpful for reaching components in tight spaces.
- Things to Consider: Self-closing tweezers can be helpful for holding components in place while soldering.
Solder Wick and Flux
Solder wick (desoldering braid) is used to remove excess solder, while flux helps to improve solder flow and prevent oxidation.
- For Beginners: Use a no-clean flux to avoid the need for post-soldering cleaning. A thin solder wick is ideal for removing small amounts of solder.
- Things to Consider: Flux pens offer a convenient way to apply flux precisely where it’s needed.
Magnifying Glass or Microscope
SMDs are small, making it difficult to see fine details. A magnifying glass or microscope is essential for inspecting solder joints and identifying potential problems.
- For Beginners: A magnifying lamp with adjustable brightness is a good starting point.
- Things to Consider: A stereo microscope provides a higher level of magnification and allows for more detailed inspection.
Other Useful Tools
- Solder Paste: For applying solder to pads before placing components.
- Kapton Tape: Heat-resistant tape for protecting surrounding components from heat.
- Isopropyl Alcohol: For cleaning PCBs and removing flux residue.
- ESD-Safe Mat: To protect components from static electricity.
Basic SMD Rework Techniques
Phone cases · Sponsored
Phone Cases For All — 50,000+ designs. 15% off code FIRST15ALL
Once you have the necessary tools, you can start learning basic SMD rework techniques. Here are a few essential techniques to master:
Removing an SMD
- Apply Flux: Apply a small amount of flux to the solder joints of the component you want to remove.
- Heat with Hot Air: Using your hot air rework station, direct the hot air at the component’s leads. Move the nozzle in a circular motion to evenly heat all the solder joints.
- Lift the Component: Once the solder has reflowed, use tweezers to gently lift the component off the board. Avoid applying excessive force, which could damage the pads.
- Clean the Pads: Use solder wick and a soldering iron to remove any remaining solder from the pads. Clean the pads with isopropyl alcohol to remove any flux residue.
Placing and Soldering an SMD
- Apply Solder Paste: Apply a small amount of solder paste to the pads where you will place the new component.
- Position the Component: Using tweezers, carefully position the new component on the pads. Ensure that the component is correctly aligned.
- Reflow with Hot Air: Use your hot air rework station to reflow the solder paste. Again, move the nozzle in a circular motion to evenly heat all the solder joints.
- Touch-Up (if needed): If necessary, use a fine-tipped soldering iron to touch up any solder joints.
- Clean the Board: Clean the board with isopropyl alcohol to remove any flux residue.
Soldering with a Soldering Iron (Drag Soldering)
This technique is useful for soldering multi-pin components like SOICs or QFPs.
- Apply Flux: Apply flux to all the pins of the component.
- Tack the Corners: Tack two opposing corner pins with a small amount of solder to hold the component in place.
- Drag Solder: Apply solder to the tip of your soldering iron and drag it along the pins, creating a solder fillet on each pin.
- Remove Bridges: Use solder wick to remove any solder bridges between pins.
- Inspect and Touch-Up: Inspect the solder joints under magnification and touch up any that are not properly soldered.
Safety Precautions
SMD rework involves working with high temperatures and potentially hazardous materials. It’s important to take the following safety precautions:
- Wear Eye Protection: Always wear safety glasses or goggles to protect your eyes from solder splatter and hot air.
- Work in a Well-Ventilated Area: Solder fumes can be harmful. Work in a well-ventilated area or use a fume extractor.
- Use an ESD-Safe Workstation: Protect components from static electricity by using an ESD-safe mat and grounding yourself with an anti-static wrist strap.
- Handle Hot Components with Care: Use tweezers or other tools to handle hot components to avoid burns.
- Dispose of Waste Properly: Dispose of solder waste and cleaning solvents properly.
With practice and patience, you can master the art of SMD rework and expand your electronics tinkering skills. Remember to start with simple projects and gradually work your way up to more complex tasks. Good luck, and happy tinkering!


