TinkerBench is reader-supported. When you buy through links on our site, we may earn an affiliate commission.
The Importance of ESD Protection: A Practical Guide
Electrostatic discharge (ESD) is the silent killer of electronic components. You might not see or feel it, but that tiny spark can instantly damage or degrade sensitive semiconductors, leading to premature failure or erratic behavior. For the weekend tinkerer, understanding and implementing proper ESD protection is crucial for saving time, money, and frustration. This guide will provide practical steps to protect your projects from the invisible threat of ESD.
Understanding ESD
Phone cases · Sponsored
Phone Cases For All — 50,000+ designs. 15% off code FIRST15ALL
What is Electrostatic Discharge?
ESD is the sudden flow of electricity between two electrically charged objects. This happens when there’s a buildup of static electricity, often caused by friction (triboelectric effect). Walking across a carpet, peeling tape, or even moving around in your chair can generate thousands of volts of static electricity. When this charge finds a path to discharge – say, through a sensitive IC on your workbench – the results can be catastrophic.
How Does ESD Damage Components?
The voltage from an ESD event can easily exceed the breakdown voltage of transistors and other semiconductor devices within integrated circuits. This can cause:
- Immediate Failure: The component stops working instantly. This is the easiest to diagnose, but often the most frustrating.
- Latent Damage: The component appears to work fine initially, but its lifespan is significantly reduced. This is far more insidious, as it can be difficult to trace the root cause of a later failure. The IC might work for weeks or months before failing, leading you to suspect a software bug or other hardware issue.
- Parameter Shift: The component’s performance characteristics change slightly. This can cause subtle errors in circuits and is particularly problematic in analog circuits where precision is key.
Components Most Vulnerable to ESD
Certain components are particularly susceptible to ESD damage, including:
- MOSFETs (Metal-Oxide-Semiconductor Field-Effect Transistors): The thin gate oxide layer is easily damaged by high-voltage discharges.
- Microcontrollers: Complex ICs with numerous internal transistors are highly vulnerable. Your Arduino Uno ([/products/b008grtsv6-arduino-uno-rev3-a000066-atmega328p-microcontroller-16mhz-14/]) is more robust than some, but still susceptible.
- Op-Amps: Precision analog components are easily affected by parameter shifts induced by ESD.
- Diodes and LEDs: While generally more robust than MOSFETs, they can still be damaged, especially small signal diodes and high-brightness LEDs.
Setting Up an ESD-Safe Workspace
Creating an ESD-safe workspace doesn’t require a full-blown cleanroom. With a few key investments and practices, you can significantly reduce the risk of ESD damage.
Essential Equipment
- ESD Mat: A conductive mat placed on your workbench provides a controlled path for static discharge. Connecting it to ground is crucial. Look for mats with a grounding snap.
- Wrist Strap: A wrist strap connected to ground is the most effective way to prevent static buildup on your body. Make sure the strap fits snugly and the grounding cord is securely connected. Test its continuity regularly!
- Grounding Point: A common grounding point connects the ESD mat, wrist strap, and other conductive surfaces to a common ground. This ensures that everything is at the same potential, preventing charge buildup. The screw on a standard wall outlet usually works, but a dedicated grounding rod is ideal.
- ESD-Safe Containers: Use conductive bins and bags to store sensitive components. Avoid regular plastic containers, as they can generate static electricity.
- Ionizer (Optional): For extremely sensitive components or dry environments, an ionizer can neutralize static charges in the air. These are more expensive and generally not necessary for most hobbyists, but can be helpful in very dry climates.
Workspace Layout
- Dedicated Area: Designate a specific area for working with electronics. This helps to contain potential ESD hazards and simplifies implementing protective measures.
- Clear the Clutter: Remove unnecessary items from your workspace, especially those that tend to generate static electricity, like carpets, plastic packaging, and synthetic fabrics.
- Humidity Control: Maintaining a relative humidity of 40-60% can significantly reduce static buildup. A simple humidifier or dehumidifier can help.
Practical ESD Prevention Techniques
Phone cases · Sponsored
Phone Cases For All — 50,000+ designs. 15% off code FIRST15ALL
Beyond the basic equipment, adopting good habits is essential for effective ESD protection.
Handling Components
- Always Use a Wrist Strap: Make it a habit to wear a wrist strap whenever handling sensitive components.
- Touch Ground First: Before touching any component, touch a grounded surface to discharge any static electricity that may have accumulated on your body.
- Handle by the Edges: Avoid touching the pins or exposed conductive surfaces of components. Handle them by the edges or non-conductive areas.
- Use ESD-Safe Tools: Use tools with ESD-safe handles and tips. Metal tools are generally fine if you are wearing a wrist strap connected to ground.
- Transport in ESD-Safe Packaging: Always transport sensitive components in ESD-safe bags or containers. Don’t toss them unprotected into your toolbox.
Soldering Practices
- ESD-Safe Soldering Iron: Use a soldering iron with a grounded tip. Many reputable soldering stations, like the Hakko FX-888D (mentioned in [The Best Soldering Iron for Beginners: $30 vs $60 vs $200 Tiers]), have this feature.
- Ground Your Work Surface: Ensure your soldering iron is on an ESD mat connected to ground.
- Minimize Contact: Try to solder components as quickly and efficiently as possible to minimize exposure to heat and potential ESD events.
- Cleaning: Use ESD-safe cleaning solutions and brushes to remove flux residue. Avoid using compressed air, as it can generate static electricity. Instead, use a squeeze bottle with IPA.
Environmental Considerations
- Dry Environments: Static electricity is more prevalent in dry environments. Consider using a humidifier to increase the humidity level in your workspace.
- Clothing: Avoid wearing synthetic fabrics like nylon or polyester, as they tend to generate static electricity. Opt for cotton or other natural fibers.
- Footwear: Wear shoes with conductive soles or use heel straps to ground yourself. Avoid rubber-soled shoes, as they can insulate you from ground.
Testing Your ESD Protection
While you can’t directly “see” ESD protection working, you can perform some simple tests to ensure your setup is effective.
Wrist Strap Continuity Test
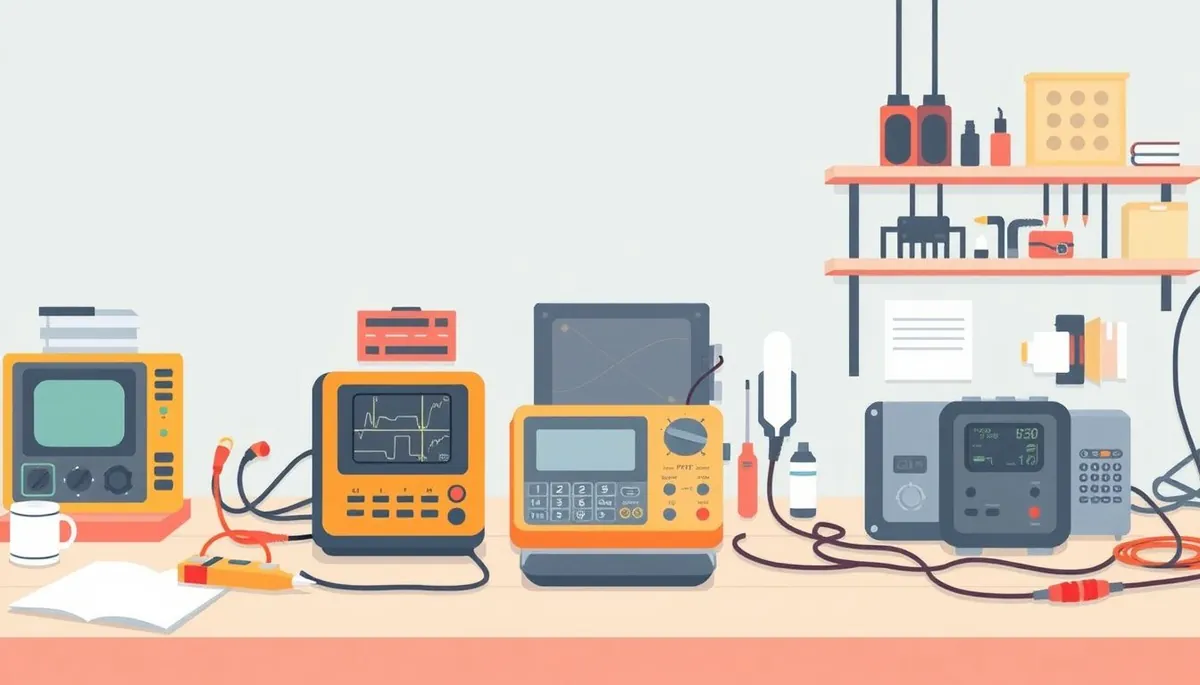
Use a multimeter to test the continuity between the metal plate of your wrist strap and the ground point. The resistance should be low (ideally less than 1 megohm). A high resistance indicates a faulty connection or a broken wrist strap.
Surface Resistance Measurement
Use a surface resistance meter to measure the resistance of your ESD mat and other conductive surfaces. The resistance should fall within the recommended range for ESD-safe materials (typically between 10^4 and 10^9 ohms).
Periodic Inspections
Regularly inspect your ESD equipment for wear and tear. Check the wrist strap for fraying or damage, the grounding cords for breaks, and the ESD mat for cleanliness. Replace any damaged or worn-out items immediately.
By understanding the principles of ESD and implementing these practical techniques, you can significantly reduce the risk of damage to your electronic components and ensure the longevity of your projects. Remember, a little prevention goes a long way in the world of hobby electronics.


