Reflow soldering is a popular method for assembling surface-mount PCBs, but professional reflow ovens cost hundreds to thousands of dollars — out of reach for many hobbyists or small bench technicians. Your problem: Can you actually achieve reliable, quality reflow soldering results using a cheap toaster oven, or is it more hype than help? This article explores how reflow soldering with a common toaster oven works, examines the practical limitations, and guides you through how to do it right without wrecking your boards or components.
What Is Reflow Soldering?
Phone cases · Sponsored
Phone Cases For All — 50,000+ designs. 15% off code FIRST15ALL
Reflow soldering is a process in which surface-mount solder paste (a flux and solder powder mix) applied to PCB pads is heated until the solder melts and bonds components to the board. Unlike hand soldering with a soldering iron, reflow involves ramping the entire PCB through a precise temperature profile in an oven.
Professional reflow ovens use controlled convection, infrared, or vapor phase heating with programmable temperature profiles and accurate thermocouples positioned on the PCB to ensure consistent, repeatable solder joints. The goal is to minimize thermal stress while making sure the solder fully melts (“reflows”) and bonds components without damaging thermal-sensitive parts or causing dry joints.
See also: 33. Breadboard quality matters more than you think
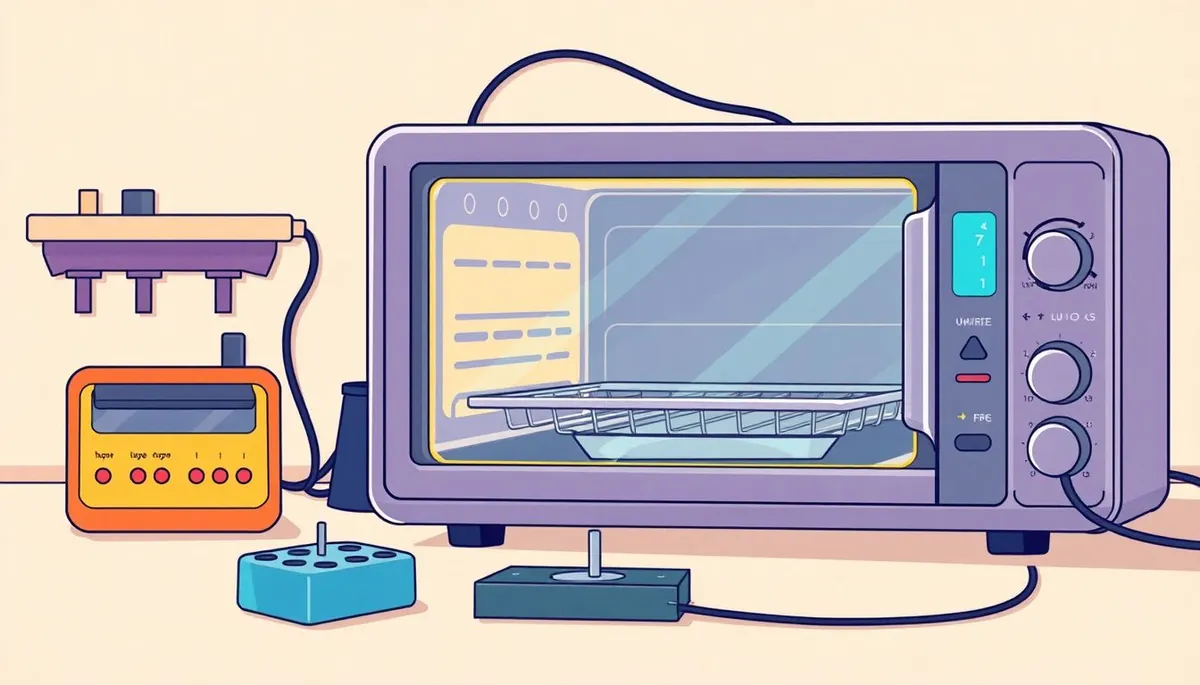
How Does Reflow Soldering With a Cheap Toaster Oven Work?
At a basic level, a cheap kitchen toaster oven can approximate the temperature profile needed for reflow by cycling the heating elements on and off controlled by a manual or crude external controller (e.g., a simple timer or a DIY temperature sensor with a relay). It reaches the needed peak temperature (around 230°C for common lead-free solder paste, or around 190°C for leaded) over a ramp-up period, holds it for the appropriate time, then cools down.
The “hot air” inside toasters and the relatively uniform heat distribution can provide enough thermal energy to melt solder paste. However, toaster ovens lack precise temperature control, exact airflow, and thermal profiling capabilities, so success depends on careful method setup and compromise awareness.
Essential Steps for Using a Toaster Oven for Reflow
-
Prepare Your PCB and Solder Paste:
- Apply solder paste evenly to pads using a stencil or syringe.
- Place surface mount components carefully.
-
Set Up the Oven and Measure Temperature:
- Preheat the oven to around 200-230°C.
- Use an external thermocouple or thermal probe attached to a digital thermometer to monitor internal temperature close to the PCB.
-
Create a Temperature Profile Approximation:
- Start with a ramp-up from room temp to ~150°C in about 90 seconds (so flux activates without burning).
- Hold around 150-180°C for 60-90 seconds (so flux cleans and solvents evaporate).
- Ramp quickly to peak temperature (about 230°C for lead-free) and hold for 30-60 seconds to melt solder.
- Cool down gradually by opening the door or simply waiting.
-
Manage Air Circulation and Placement:
- Place PCB on a middle rack for even heat.
- Avoid overcrowding to maintain airflow.
-
Watch Closely and Adjust:
- Use trial boards to refine timing.
- Check joints after each run for cold joints, dry joints, or component damage.
When to Use a Toaster Oven for Reflow Soldering
Phone cases · Sponsored
Phone Cases For All — 50,000+ designs. 15% off code FIRST15ALL
A toaster oven can be an excellent entry-level, cost-effective tool for:
- Hobbyists on a budget who want to assemble small to medium surface mount PCBs.
- Rapid prototyping or low-volume boards where investing in a professional oven isn’t worth it.
- Learning the basics of reflow soldering thermal profiles and PCB assembly processes.
- Kits and projects where high-end precision and yield aren’t critical.
However, for professional production, high-density boards with thermal-sensitive components, or high-volume manufacturing, toaster ovens fall short on consistency and can risk damaging parts or causing unreliable joints.
Common Pitfalls and How to Avoid Them
| Pitfall | Why It Happens | How to Avoid |
|---|---|---|
| Inconsistent Temperature | No built-in PID temperature control; hotspots | Use external thermocouple monitoring; perform multiple trials to dial in settings |
| Overheating Components | Poor temperature control causing peak temp overshoot | Limit peak temp; reduce bake time; use thermal couples to monitor board temperature |
| Uneven Heat Distribution | Toaster ovens may have uneven air circulation | Position PCBs centrally; rotate trays if needed; leave space between boards |
| Cold or Dry Joints | Insufficient heat soak; uneven solder melting | Ensure solder paste is fresh; follow proper thermal profile; allow enough peak time |
| Solder Paste Spattering | Rapid temperature ramp causing flux spatter | Use slower ramp rates; apply solder paste carefully |
Precision and Practicality: Toaster Oven vs Pro Reflow Oven
Phone cases · Sponsored
Phone Cases For All — 50,000+ designs. 15% off code FIRST15ALL
| Feature | Cheap Toaster Oven | Professional Reflow Oven | Scenario Where Each Excels |
|---|---|---|---|
| Temperature Control | Manual or crude | Precise PID control, multi-zone | Small hobby projects |
| Temperature Uniformity | Variable, possible hotspots | Uniform around board | High-reliability production |
| Programmable Thermal Profiles | No or limited | Fully programmable | Complex, sensitive heat profiles |
| Airflow and Circulation | Passive or fan-assisted | Controlled convection or vapor phase | Consistent joints, thermal-sensitive parts |
| Capacity | Small, fits only few PCBs | Larger batch sizes | Batch or volume manufacturing |
| Cost | $30-$100 approx | Hundreds to thousands | Budget-conscious prototyping |
How To Extend Soldering Iron Tip Life When Doing SMT
Even if you use a toaster oven for reflow, you’ll often need to touch up joints or remove components with a soldering iron. Maintaining your soldering iron tip is crucial:
- Use iron temperature around 300–350°C. Higher temps degrade tips quickly.
- Always tin your iron tip before and after use with brand-name cartridge solder.
- Avoid acidic or overly abrasive fluxes that erode tips.
- Clean tips sparingly with a damp sponge or brass wire cleaner to avoid tip damage.
- Use compatible brand-name cartridge tips or refill your cartridges with high-quality solder paste when needed.
Conclusion: Is a Cheap Toaster Oven Good Enough?
Yes, with caveats. A cheap toaster oven is by no means a “plug and play” solution for reflow soldering, but it can absolutely work for hobbyists willing to invest time in experimenting and temperature monitoring. You won’t get the precision or throughput of a professional reflow oven, but for small to medium kits, rapid prototyping, and low-volume assembly, it’s a practical, affordable entry point to surface mount assembly without breaking the bank.
Frequently Asked Questions
Q: Can I use any solder paste for toaster oven reflow?
A: Use solder paste designed for hand or hobbyist reflow and check the recommended temperature profiles. Avoid low-activation or custom industrial pastes that require profiles only professional ovens provide.
Q: Will components get damaged in a toaster oven?
A: If you carefully manage temperature profiles and cooling, most standard SMD components tolerate toaster oven reflow without damage. Thermal-sensitive parts may require extra caution or selective hand soldering.
Q: How do I know when my solder paste is “done” melting?
A: The solder paste should visually change from a matte paste to a shiny, melted joint during the peak temperature phase. If the paste remains dull or powdery, the profile needs adjustment. Always verify with magnification after cooling.


